
How to Take a Passport Photo at Home(2025 Complete Guide)


Taking your own passport photo at home is fully allowed by the U.S. Department of State.
But most DIY photos get rejected for the same reasons: shadows, incorrect head size, poor background, or improper cropping.
This guide shows you the exact requirements, the correct setup, and the fastest way to produce a compliant 2×2 inch photo without paying for a studio or waiting at a drugstore.
If you prefer a faster, automated method, you can skip the manual steps and have your photo generated for you:
→ Make a compliant passport photo instantly
For more information on common mistakes to avoid, see our guide on why passport photos get rejected. If you're using an iPhone, check out our iPhone passport photo guide.
1. Official U.S. Passport Photo Requirements (2025)
Below are the exact State Department rules your photo must meet.
Size & Composition
- Final photo size: 2 × 2 inches (51 × 51 mm)
- Head height: 1 – 1 3/8 inches (25–35 mm) from chin to top of head
- Head must be centered and directly facing the camera
- Expression: neutral, mouth closed, eyes open
Background
- Solid white or off-white
- Absolutely no shadows or texture
- No visible patterns or gradients
Lighting
- Even lighting across the face
- No shadows under chin, nose, or behind the head
- Avoid bright glares, reflections, or harsh lighting
Clothing
- No uniforms
- Avoid white tops on white background
- No hats, headbands, or eyewear
- Religious/medical coverings allowed with explanation
If you or a family member needs accessibility accommodations, see the passport photo guide for people with disabilities.
Quality
- High resolution
- No filters
- No beauty AI smoothing
- No retouching that alters face shape or skin tone
- No pixelation or compression artifacts
Most rejections happen because of shadows + incorrect head size.
2. What You Need Before You Start
You don’t need professional equipment.
Just:
- A smartphone (iPhone/Android, front or rear camera)
- A blank white wall
- Good natural daylight or two soft light sources
- A helper OR a tripod
- 4–6 feet of space between you and the wall
3. Step-by-Step: How to Take the Photo at Home
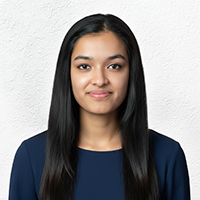
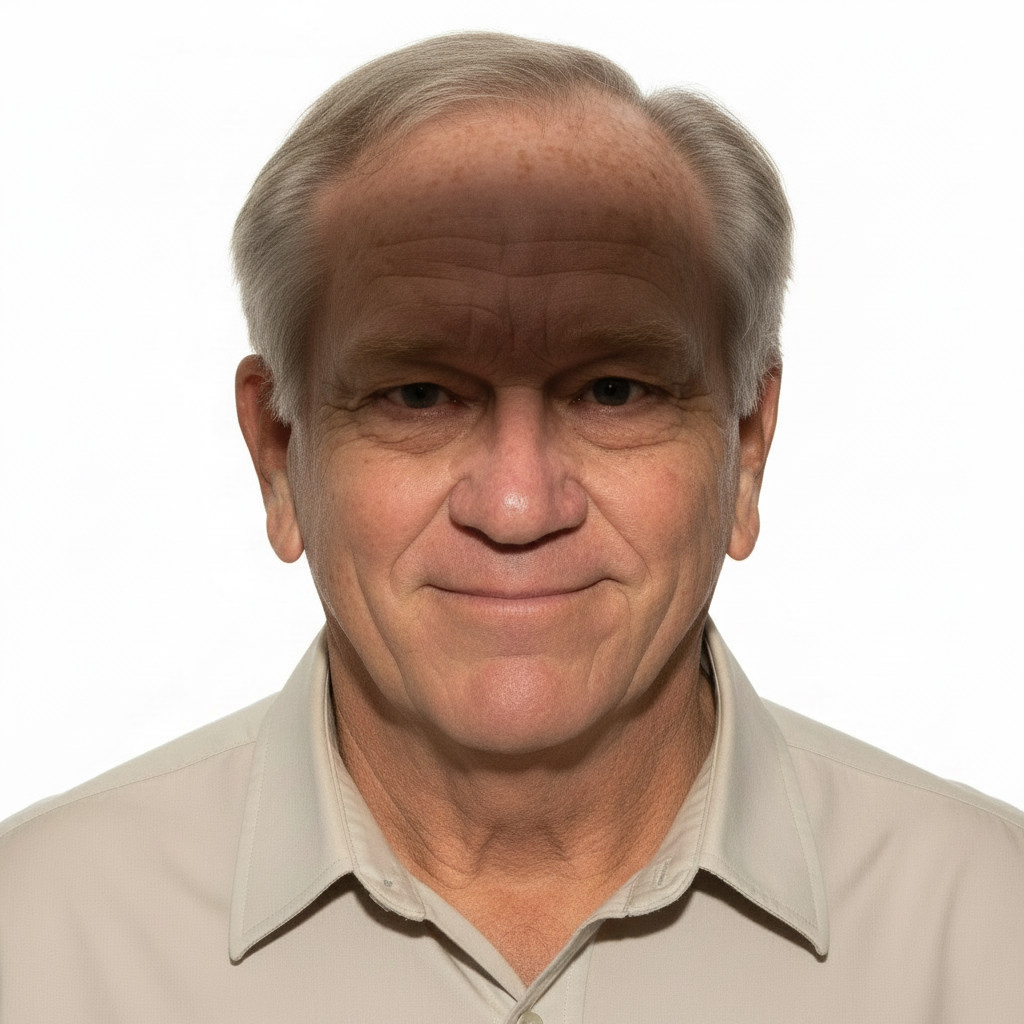
Step 1 — Choose Your Background
Use a plain white wall, door, or poster board taped to the wall.
Avoid textured walls, curtains, shadows, or colored backdrops.
Example of correct background

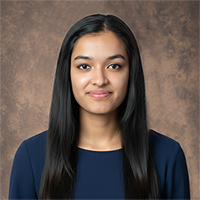
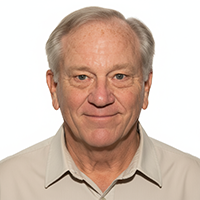
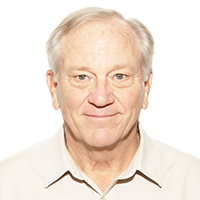
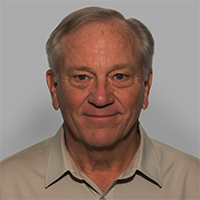
Step 2 — Lighting Setup
Best setup:
- Face a window with indirect daylight
- Turn off ceiling lights to avoid shadows
- Indoors at night → use two lamps at 45° angles
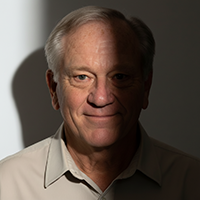
Avoid:
- Harsh sunlight
- One-sided lighting
- Backlighting that silhouettes the face
Example of correct vs incorrect lighting
Step 3 — Camera Position
- Distance: 4–6 feet
- Camera level with eyes
- Portrait orientation, not landscape
- Use tripod or helper for stability
Step 4 — Frame the Shot
Make sure:
- Head + shoulders visible
- Space above head for cropping
- Centered face, no tilt
- Subject faces straight ahead


Step 5 — Take Multiple Photos
Take 8–12 shots with slight variations in:
- Distance
- Angle
- Lighting
- Pose consistency
More shots = higher chance of a compliant one.
Step 6 — Crop to Passport Requirements
Manual crop requirements:
- Final: 2 × 2 inches
- Head size: 1–1 3/8 inches
- Eyes positioned correctly
- No visible clipping or misalignment
If you want to skip manual measurements entirely:
→ Make a compliant passport photo instantly
4. Why DIY Passport Photos Get Rejected
Most common failure points:
- Shadows behind head
- Background not white enough
- Incorrect head size
- Face too zoomed or small
- Over/under-exposed images
- Filters or beauty smoothing
- Glasses reflections
- Subject not facing camera
For more details, see:
- Why passport photos get rejected
- Can you take a passport photo with iPhone?
- Baby passport photo guide
5. Baby & Toddler Passport Photo Guide
The State Department allows alternate baby photo methods:
- Lay baby on white sheet
- Photograph from above
- No hands or toys visible
- Eyes open if possible
- Multiple attempts recommended
Tips:
- Use daylight near window
- Take many photos
- Avoid shadows across face
6. Fastest Alternative (Recommended)
DIY is possible — but requires precision in:
- Distance
- Lighting
- Background
- Cropping
- Head size
- Exposure control
If you want the fastest option, skip mistakes & retakes:
→ Generate passport-ready photo instantly
Upload → Auto-checks lighting, head size, and compliance.
7. FAQ
Can I take a passport photo with my phone?
Yes — smartphones meet requirements if cropping + lighting are correct.
Can I smile?
No — use a neutral expression, with eyes open & mouth closed.
Can I wear makeup?
Yes — but avoid filters and extreme retouching.
Does the background have to be white?
Yes — pure white/off-white only.
Should I use iPhone Portrait Mode?
No — avoid blurred backgrounds.
Summary
You can absolutely take a valid U.S. passport photo at home, as long as you:
- Use a white background
- Ensure even/front lighting
- Keep a neutral expression
- Crop to exact measurements
If you'd rather skip setup & errors:


